Aranos is a planet in the Bogon Galaxy featured in Going Commando, with brief mentions in Ears of War and All 4 One. A planet covered in ice-capped mountains with a homogeneously frigid climate, it was introduced as the setting of the first mission, in Angela Cross' flying lab.
It was visited again after Ratchet and Clank were imprisoned by Thugs-4-Less in the flying lab, which they had taken control of and converted into a prison. The planet's surface was never visited throughout the game. The entirety of Ratchet and Clank's visits were spent on the flying lab, which was situated in Sector Seven of the planet.
History[]
Going Commando[]
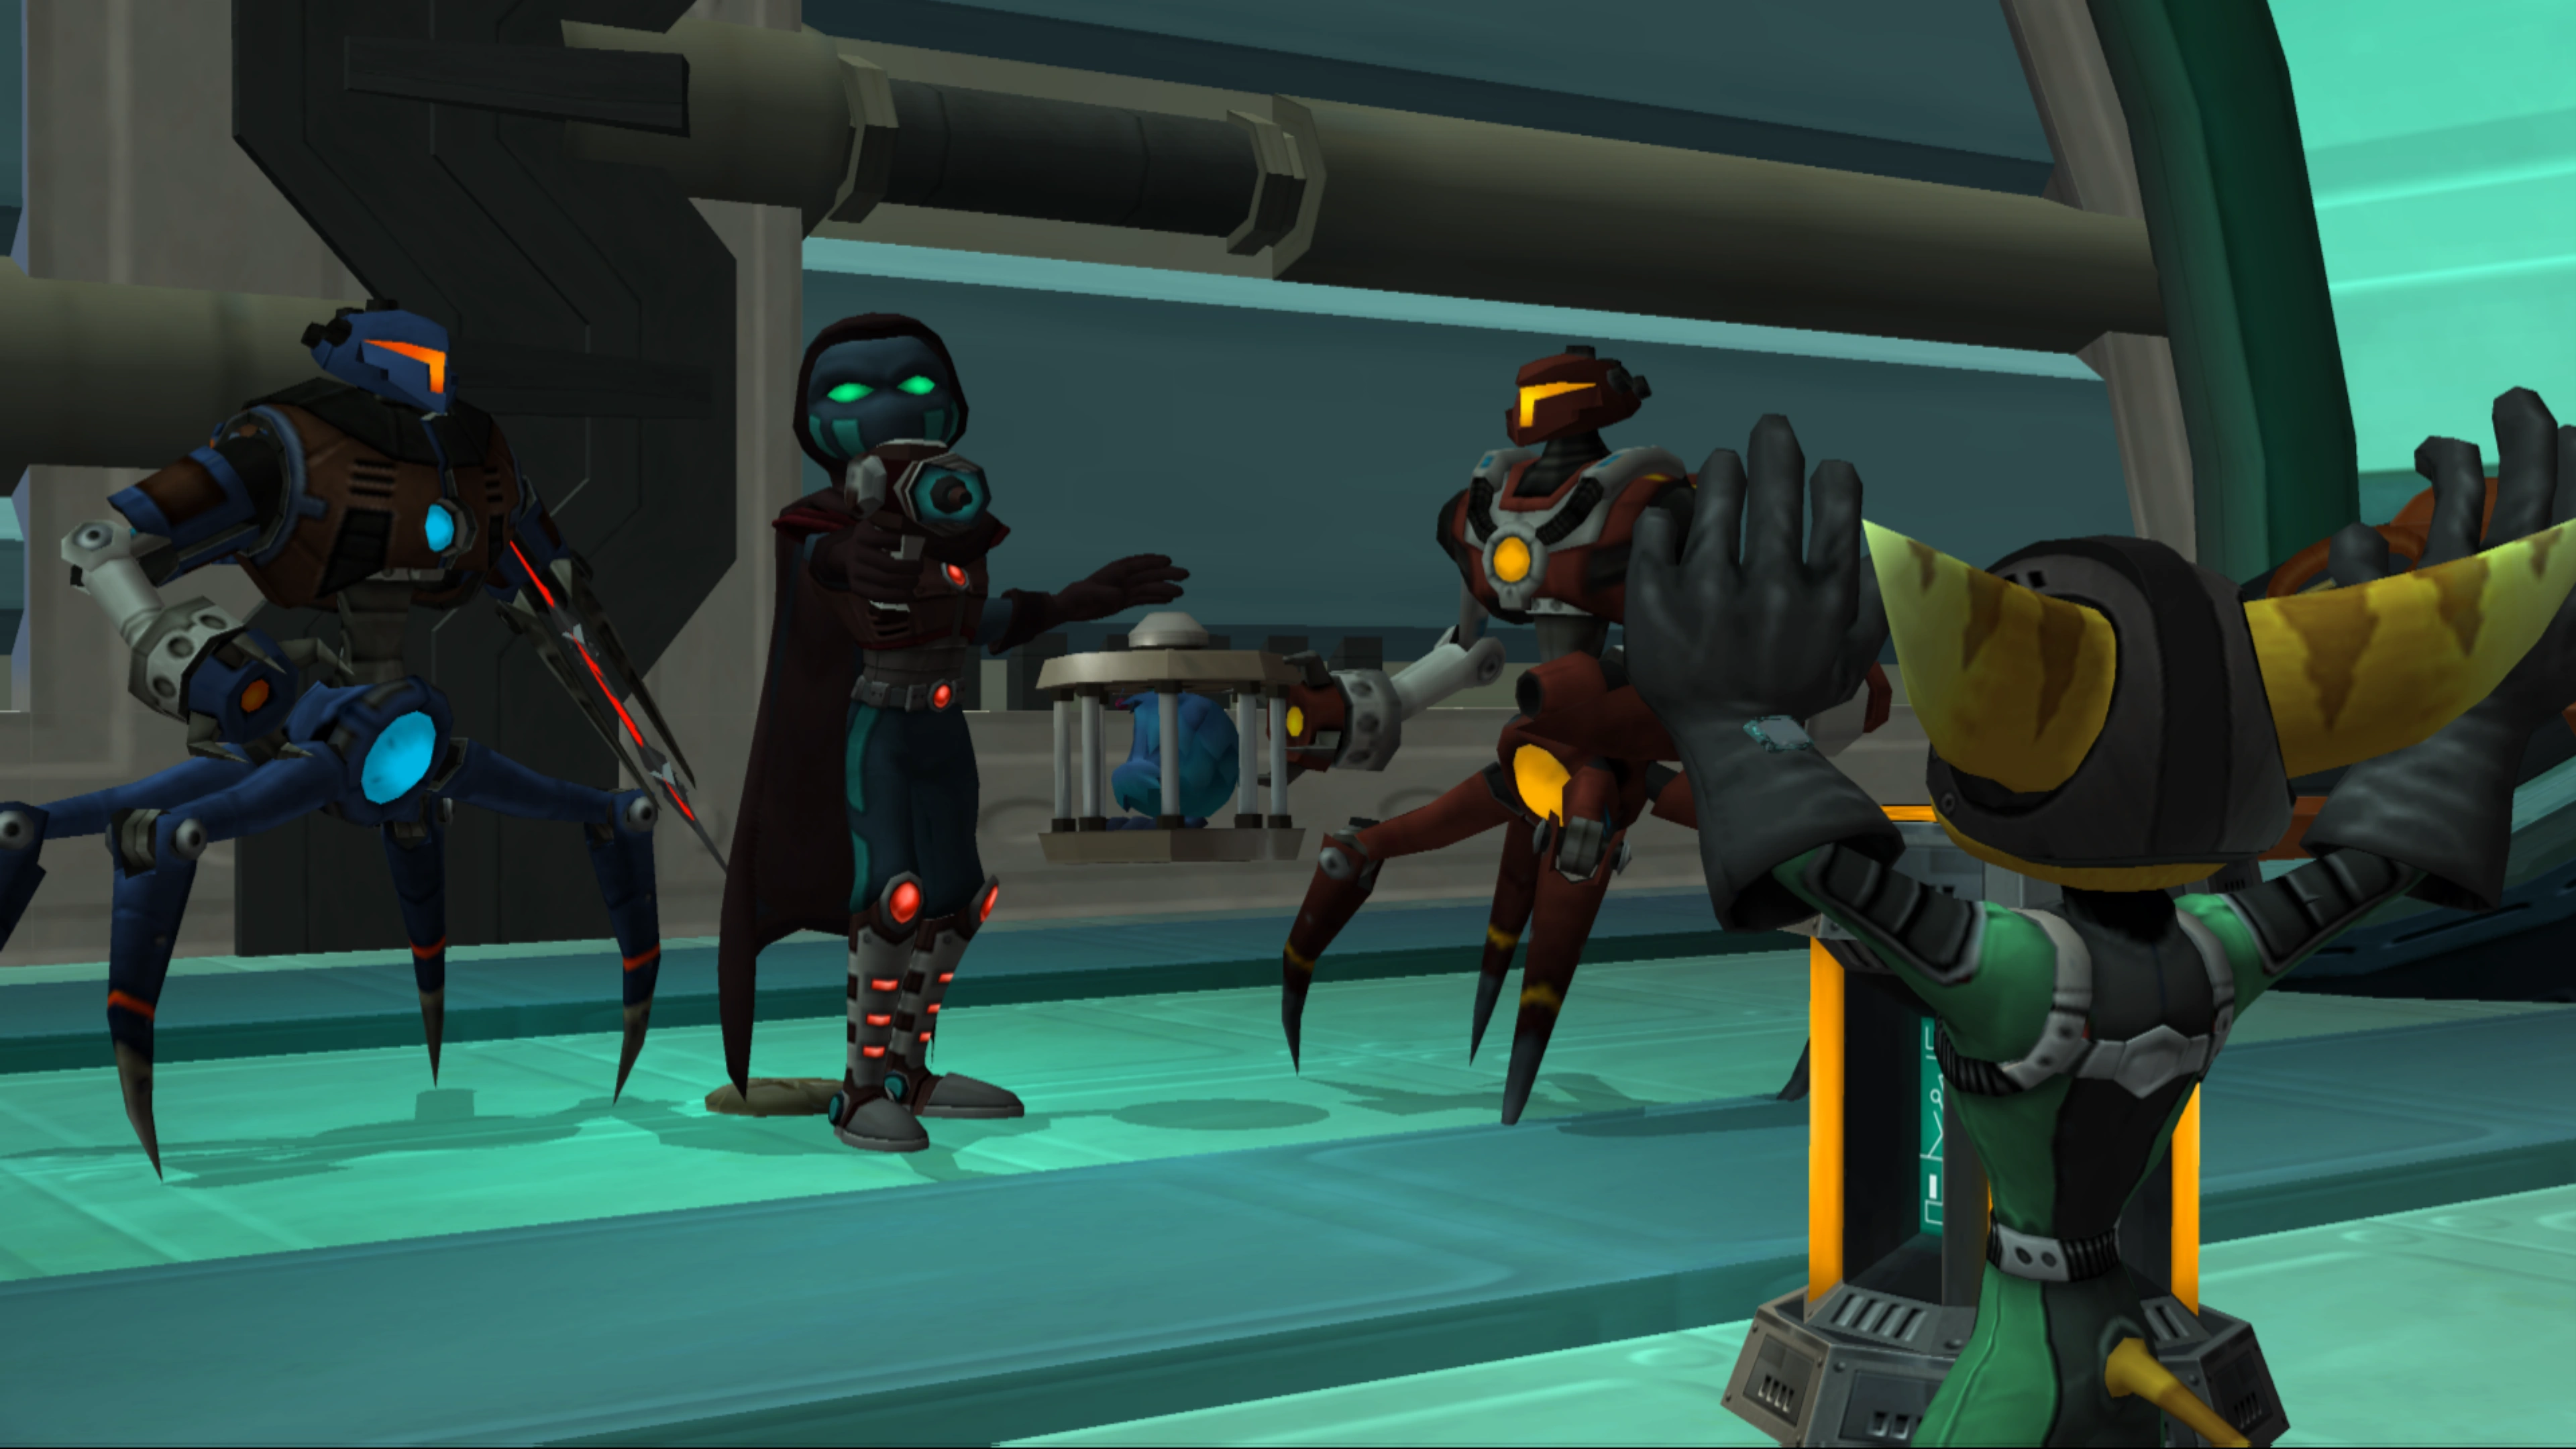
The Unknown Thief holding Ratchet at gunpoint.
In the beginning of Going Commando, Megacorp founder Abercrombie Fizzwidget enlisted Ratchet's help to retrieve a top-secret experiment, which had been stolen days prior by Angela Cross, known then as the Unknown Thief. After two weeks of training, Ratchet was sent to Aranos, where Fizzwidget had located Angela's flying lab (coordinates 37A).[1] Ratchet's first objective was to retrieve the experiment, in the mission "Infiltrate the flying base".
Ratchet was nearly successful in doing so, thanks to Angela's outdated Megacorp security forces,[1] though Angela ultimately confronted Ratchet in the experiment room and prevented him from taking it. She made off with the experiment, and afterwards recruited Thugs-4-Less to replace her security after having left.
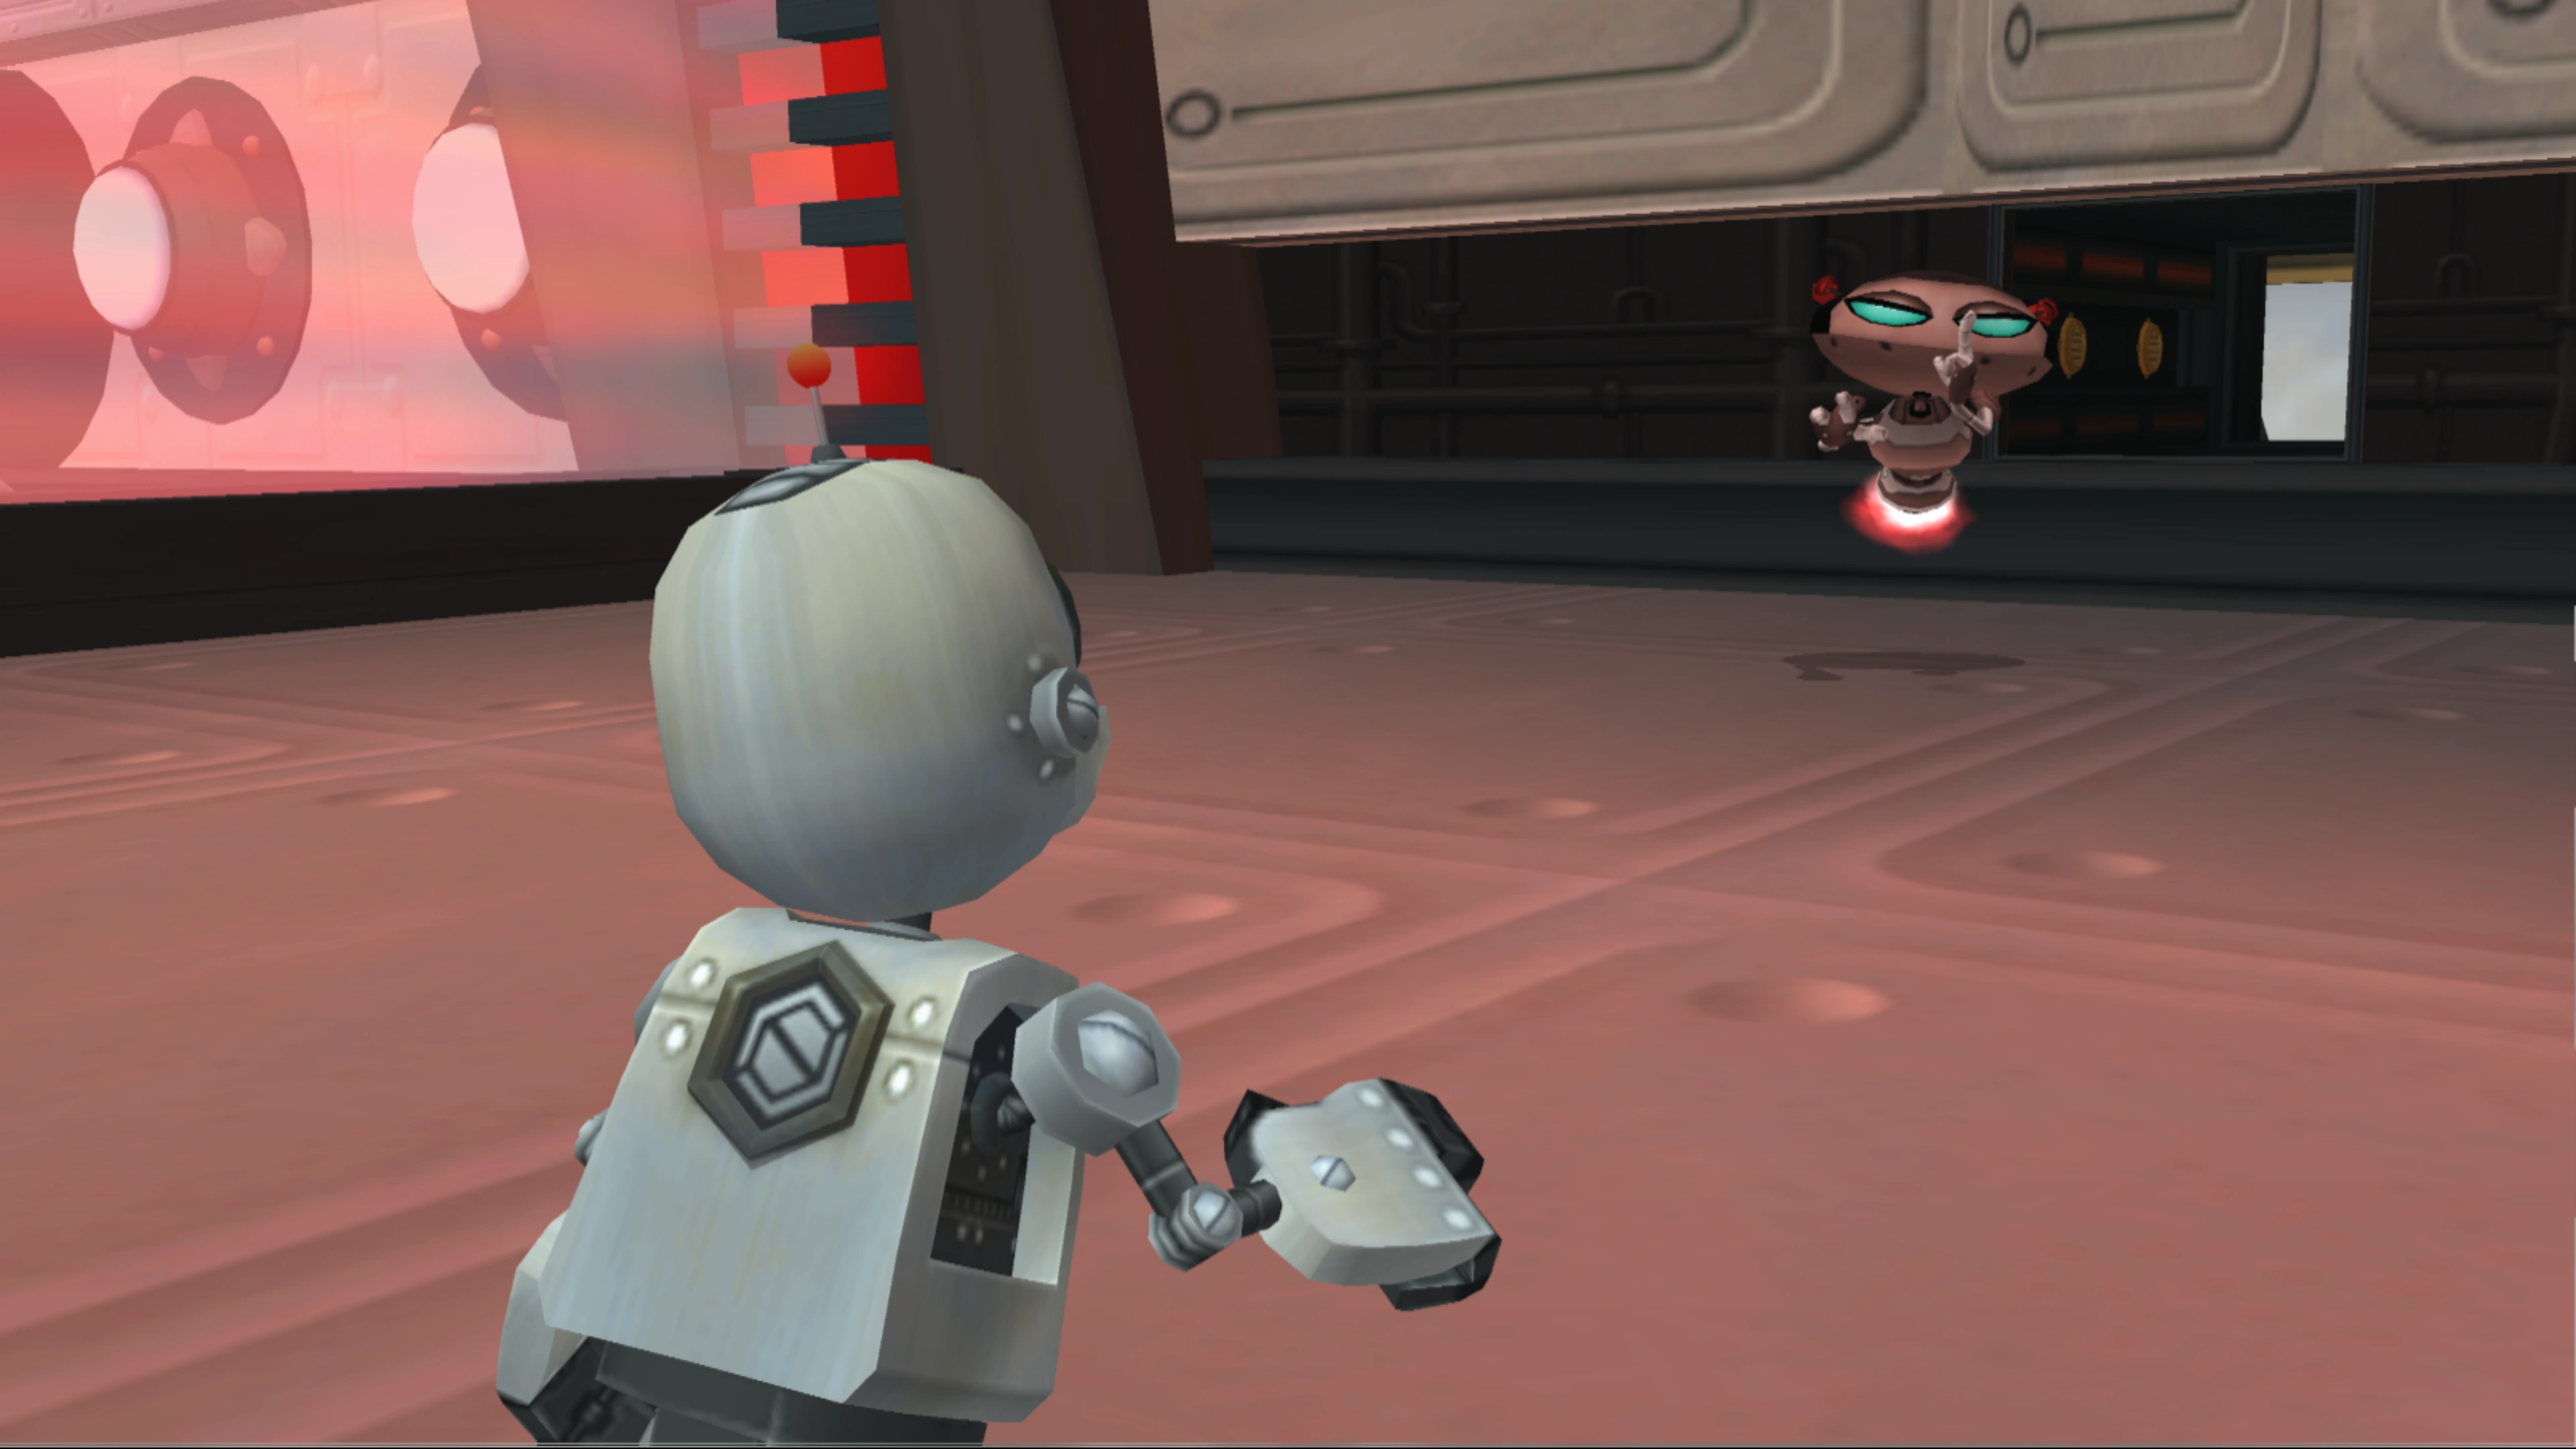
Clank's admirer rescuing Ratchet and Clank.
Much later in the game, Thugs-4-Less sent out an arrest bounty on Ratchet and Clank, who were accused of trying to assassinate Fizzwidget[2] (a set up by Megacorp and Thugs-4-Less after Ratchet and Clank aligned themselves with Angela against Megacorp). The duo were eventually captured on Boldan and sent back to the flying lab on Aranos. Thugs-4-Less had overtaken the lab, and converted it into a luxurious prison, evidently complete with nutritionists (Mathematician), fitness trainers (Helga), and life coaches (Mystic).[3]

The flying lab.
Once in the prison cell, Clank determined that there were no means of escape. However, soon after, Clank's admirer appeared through a small opening in a vent, through which Clank crawled and found a way out with Microbot support, in the mission "Free Ratchet from prison cell". Clank explored the lab and caused a power failure on decks 4–14,[4] allowing Ratchet to escape as the emergency generators did not reactivate the cell's walls.
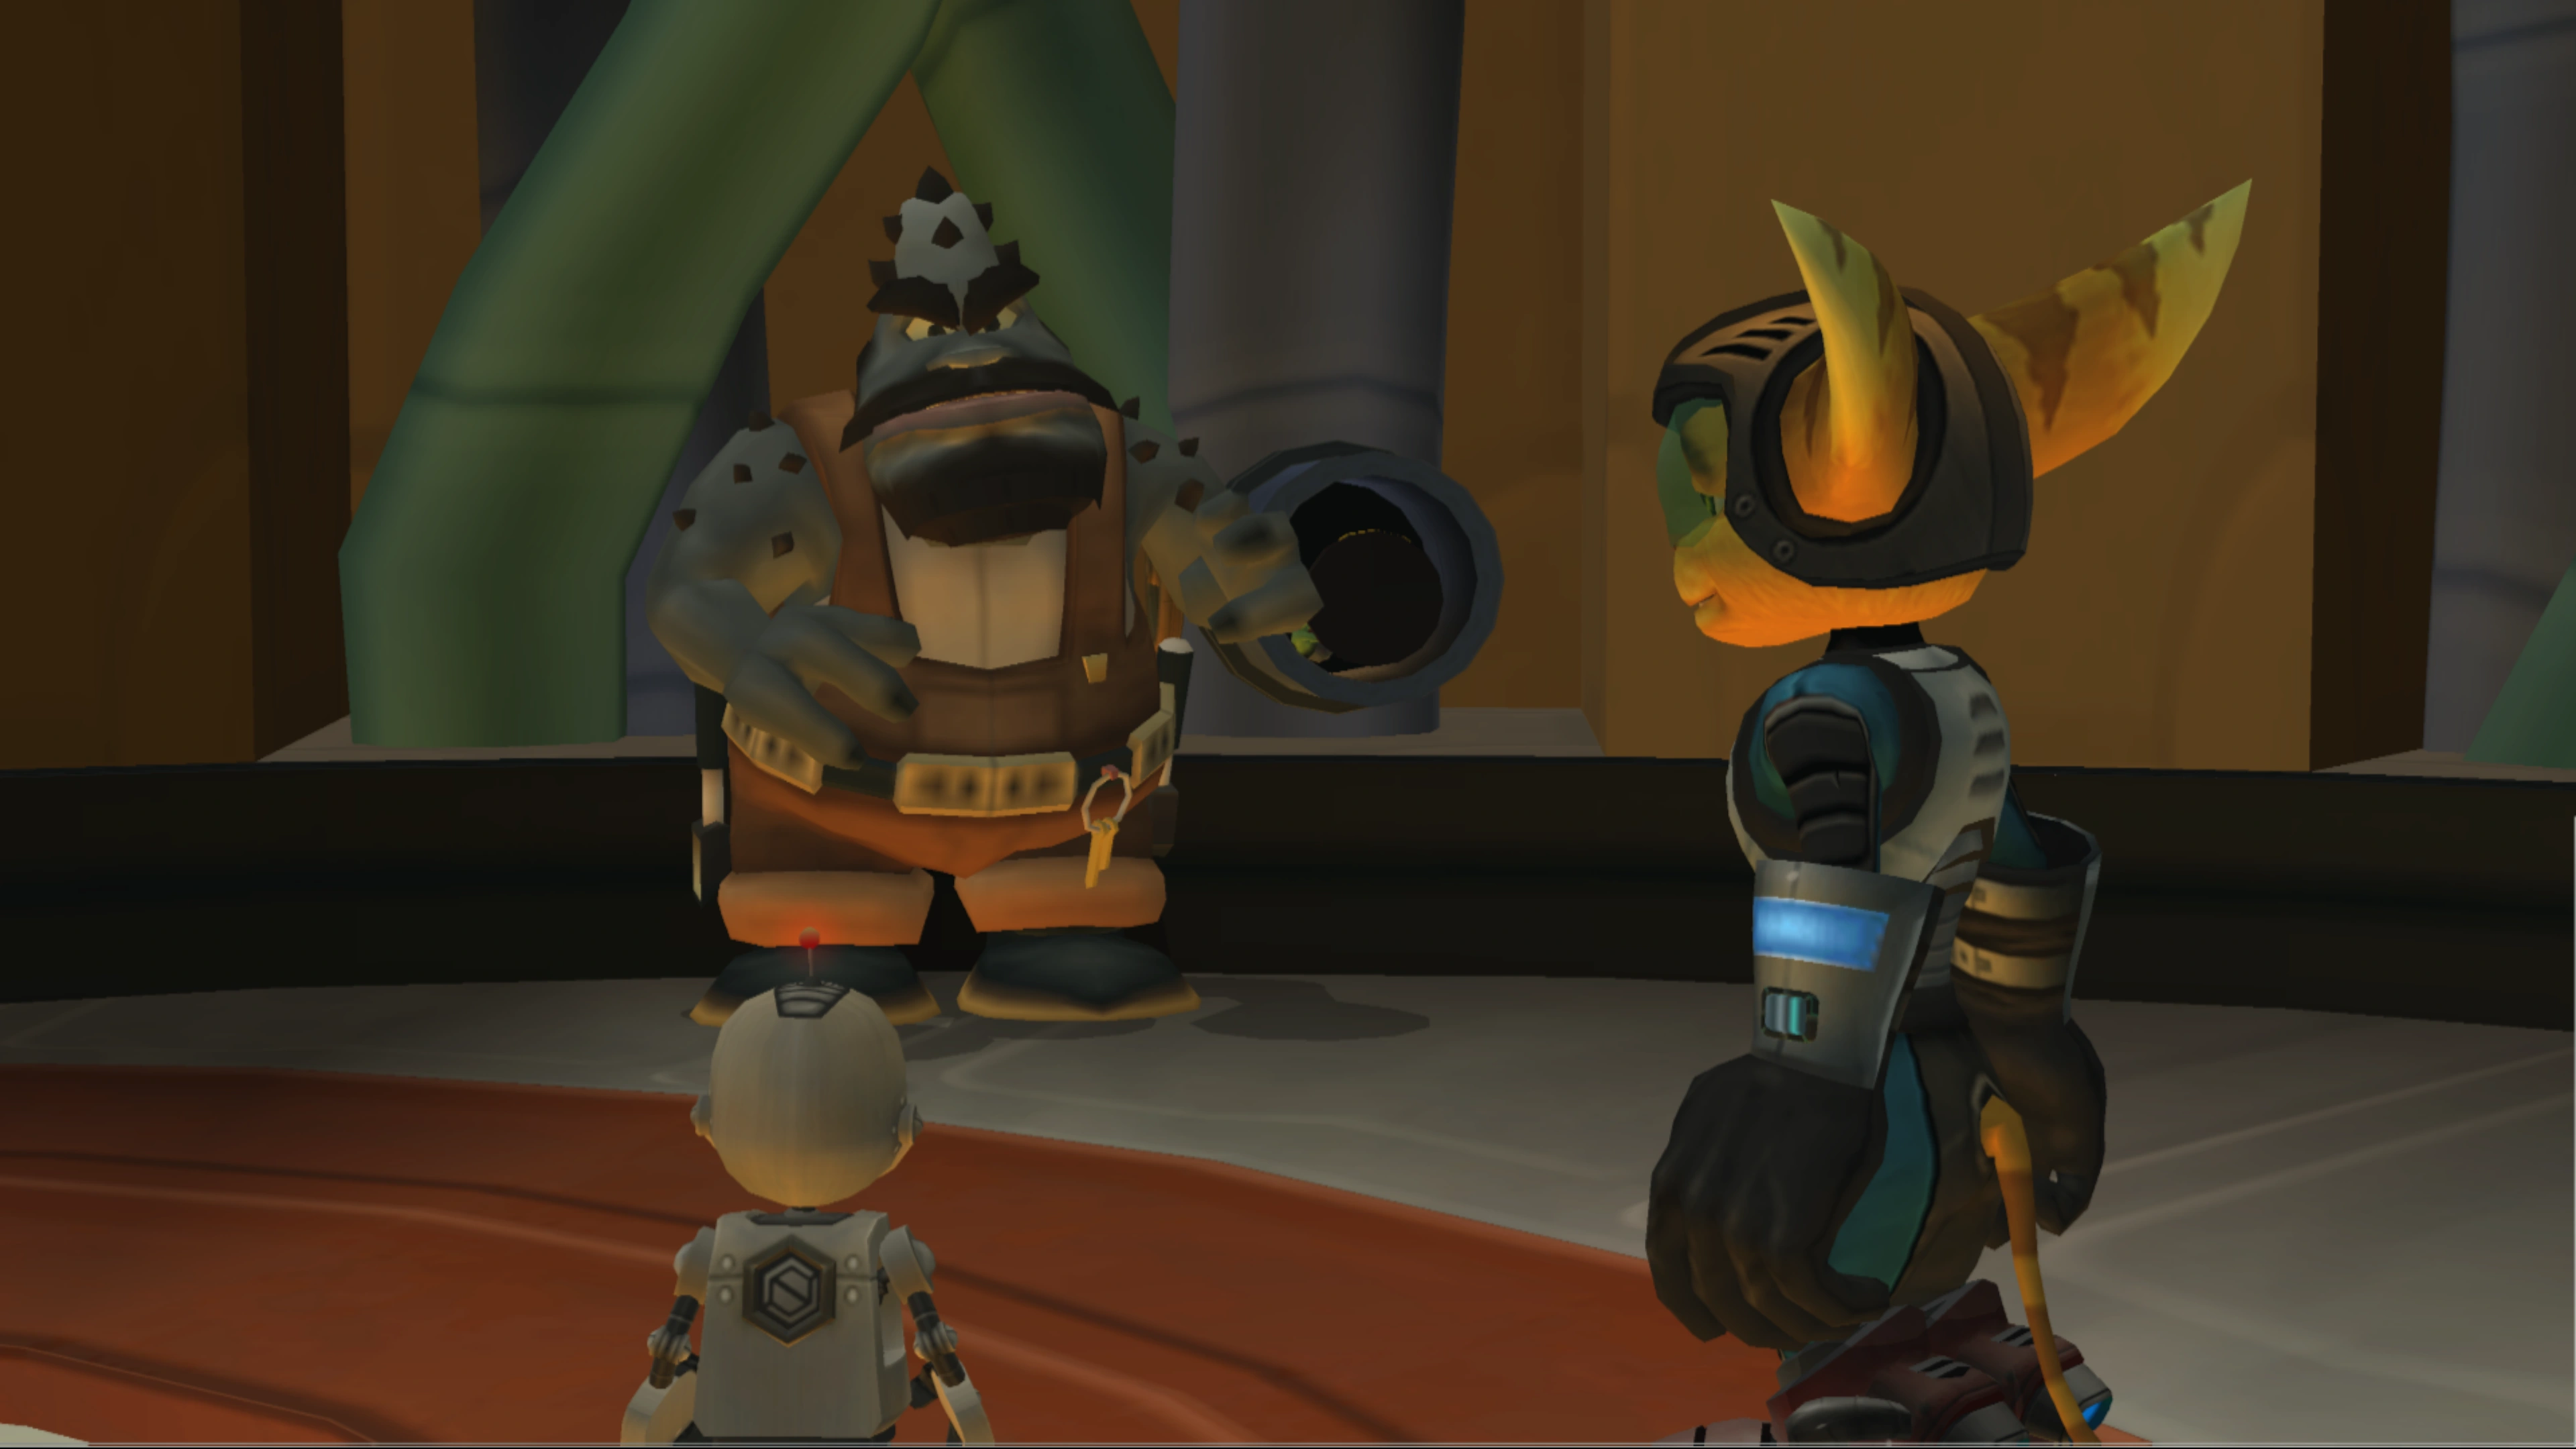
The Plumber on Aranos.
Ratchet and Clank met back up in the mission "Meet up in the hangar bay", and then subsequently completed "Turn off forcefield". Soon after, they met the Plumber, who had been called in from the Solana Galaxy to clear some toilet pipes, but ended up finding a stuck Qwark statuette. Ratchet purchased the action figure for 20,000 bolts, which he would then trade for the Armor Magnetizer from Qwark fanboy Stuart Zurgo on Todano.
At the end of "Explore the rest of the flying base", Ratchet and Clank received a transmission from Angela Cross, who was on the Thug Fleet on planet Gorn to ascertain how to defeat the Protopet. She was eventually caught and captured, prompting the duo to set out and rescue her.
Post-Going Commando[]

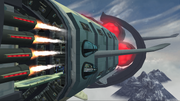
Aranos as it appears in Ears of War.
In Ears of War, President Qwark revealed that Markazian planet thief Artemis Zogg had stolen Aranos, meaning his threat was not restricted to the Solana Galaxy, but potentially the entire universe.[5] In All 4 One, Ephemeris at some point raided Aranos for creatures to serve the Loki.
Geography[]
The planet appears to be uniformly covered in snowy alps, with little terrain variation. However, this may appear to be the case merely because Aranos is only visited on the flying lab, located in sector seven,[6] which may have a localized flight path. As such, little is known of the planet's geography on the surface.
Flying lab[]
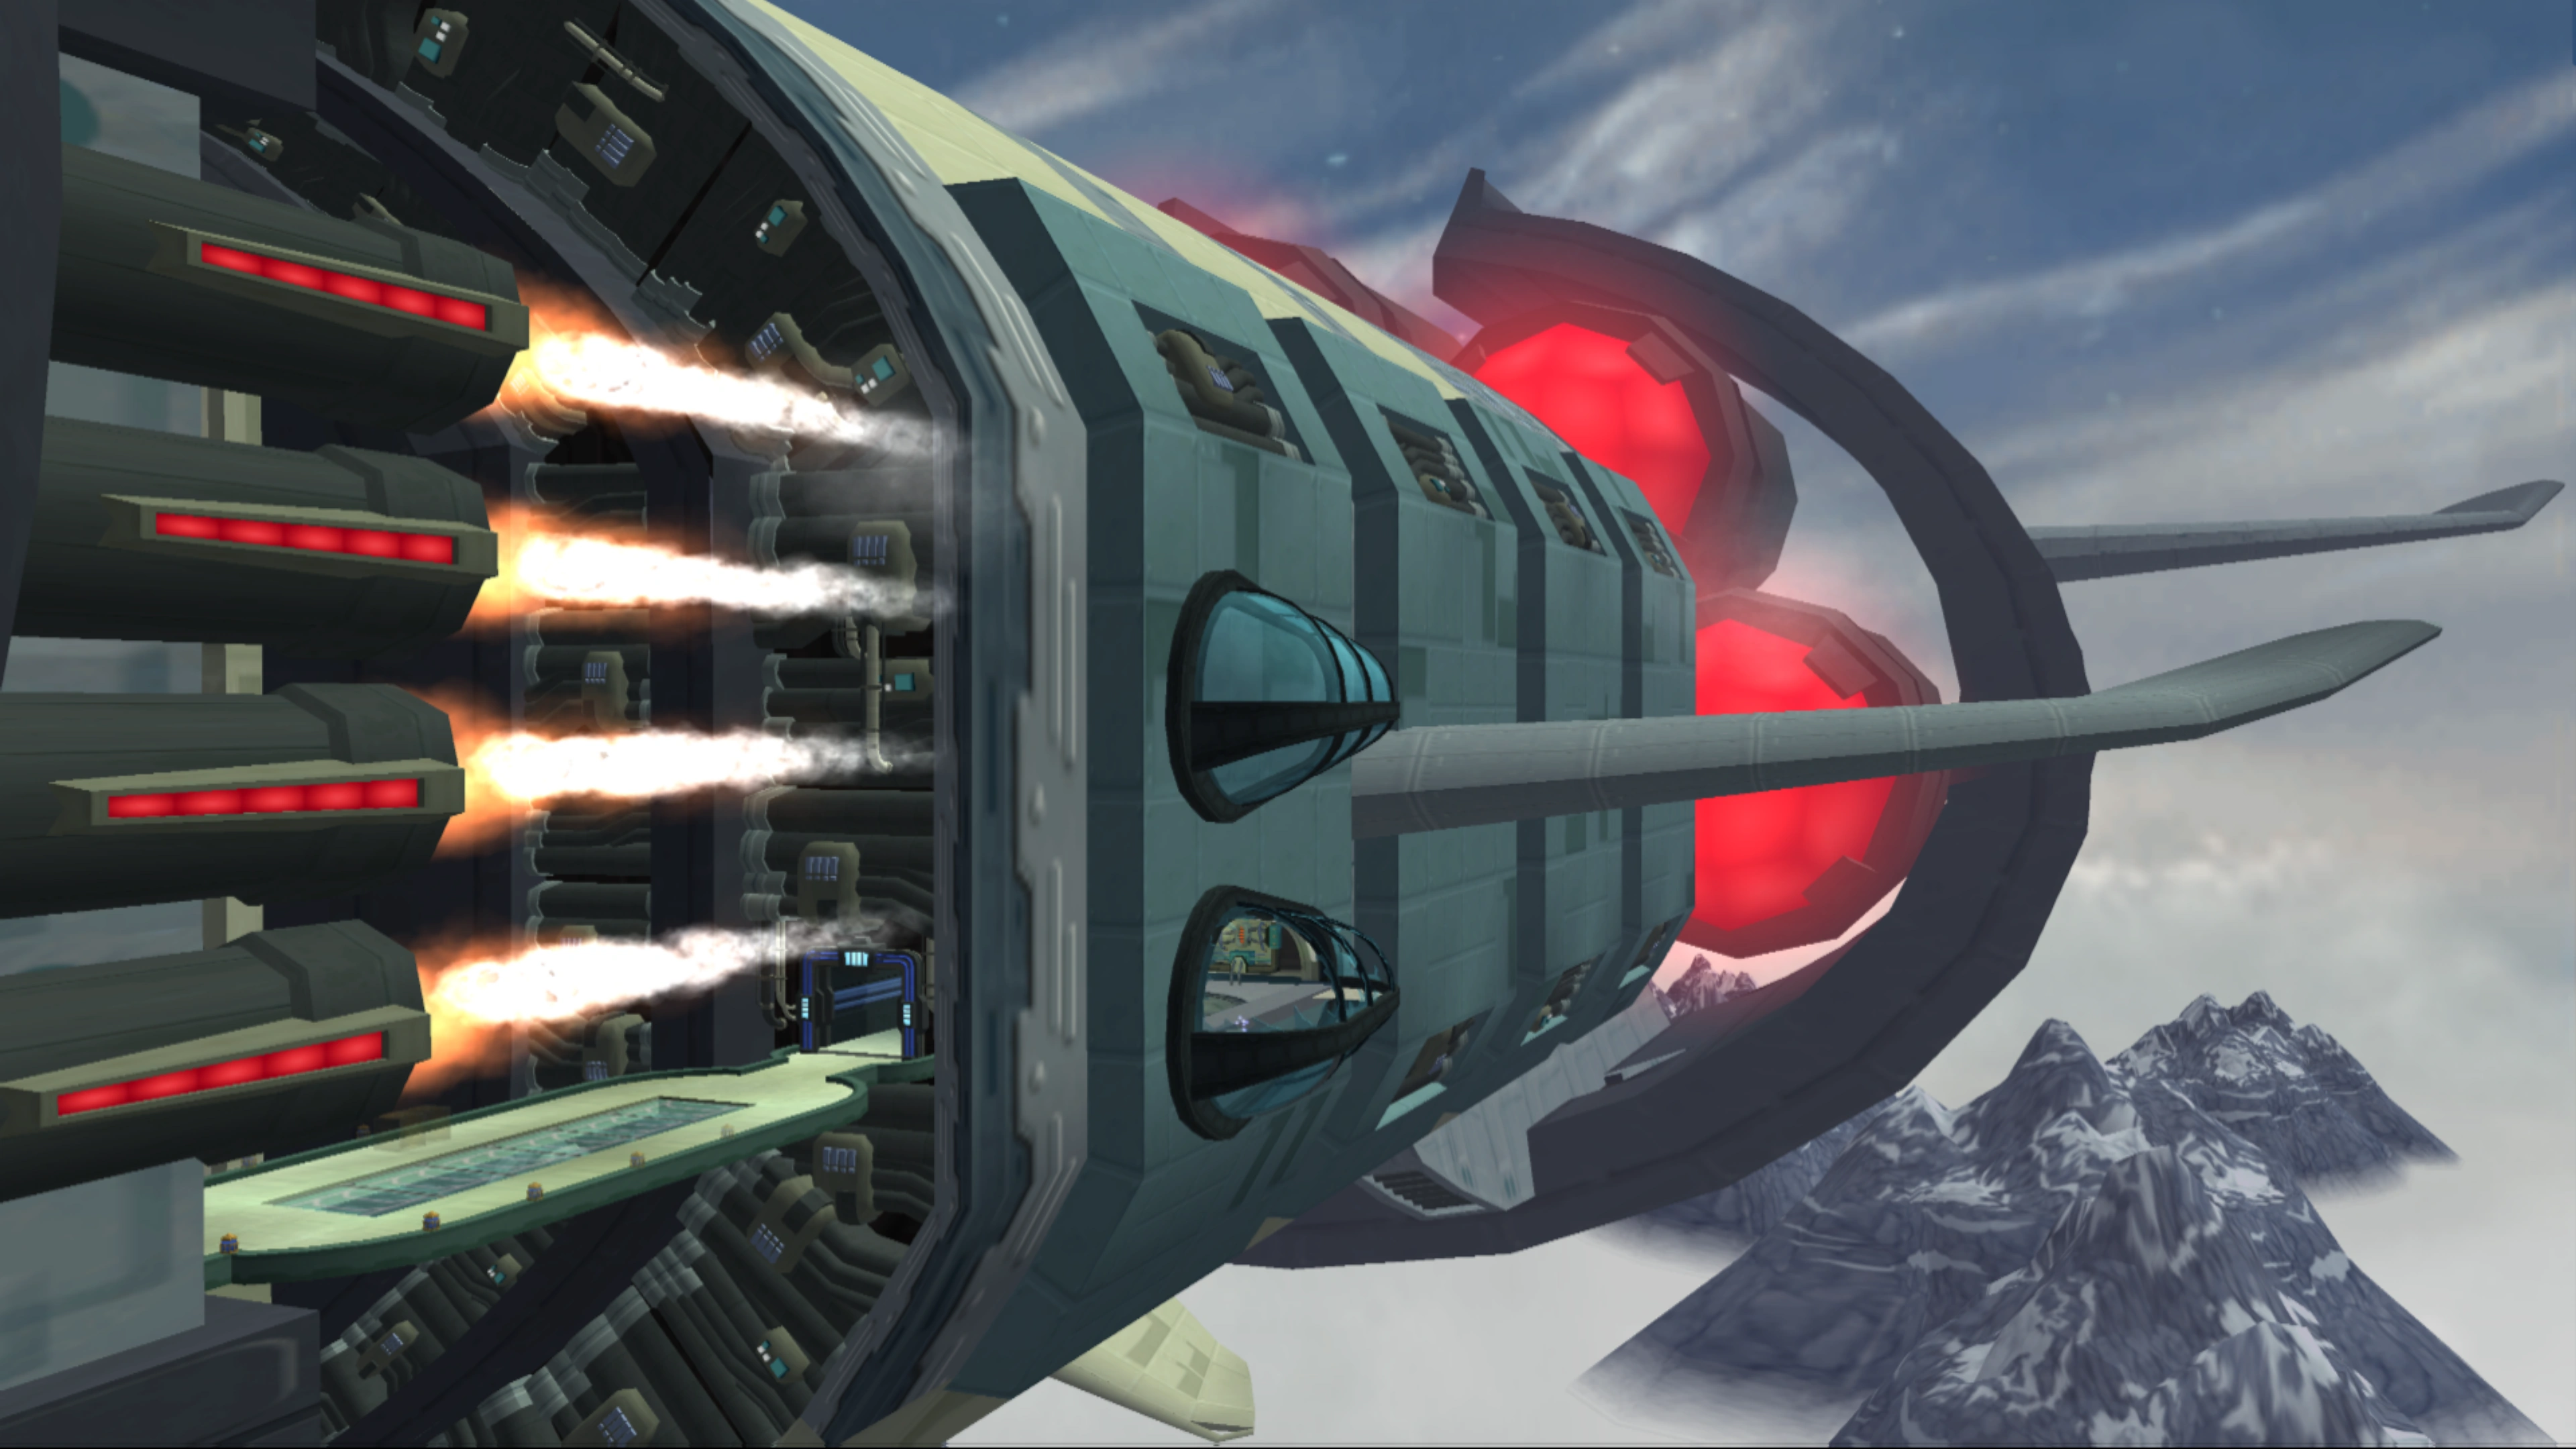
The exterior of the flying lab.
The flying lab is a long, grey ship with a whale-shaped envelope in front, small wings on its sides, a small glass gondola beneath it, and large, red thrusters at the back in a cylindrical shape. The lab often appears to be surrounded by a few small starfighters moving at roughly the same pace. There are many facilities within it, with a mix of small corridors, large rooms with lava pools (possibly used as a means of producing thermal energy), and often rooms with views of the alps. Throughout the labs' many rooms, various mechanical and engineering feats of the lab are visible, including large engine fans, series of pistons and gears, as well as several extended segments of lava. The lab was presumably used by Angela for her own biological experiments, until the Thugs-4-Less transformed it into their own prison.
The gondola beneath the ship is entered through a hatch, with an elevator leading up to the ship itself. During Ratchet's first visit in "Infiltrate the flying base", he enters through this portion; during his second visit after "Free Ratchet from prison cell", he leaves through the hangar.
Experiment holding area[]

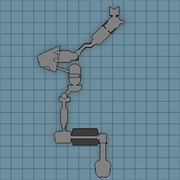
Map layout of the first visit.
The area around where the Experiment is held, visited in "Infiltrate the flying base", is located on the back-most end of the ship. It is connected to the glass gondola by a series of narrow corridors. The first of these corridors has a glass floor with moving pumps, the second leads through large rotating mechanical gears with pulsating energy through the corridor, the third leads across a bridge outside up to a vast room pipes, dark cabinets, and green screens showing Megacorp Security Robots. An elevator here leads to the holding area.

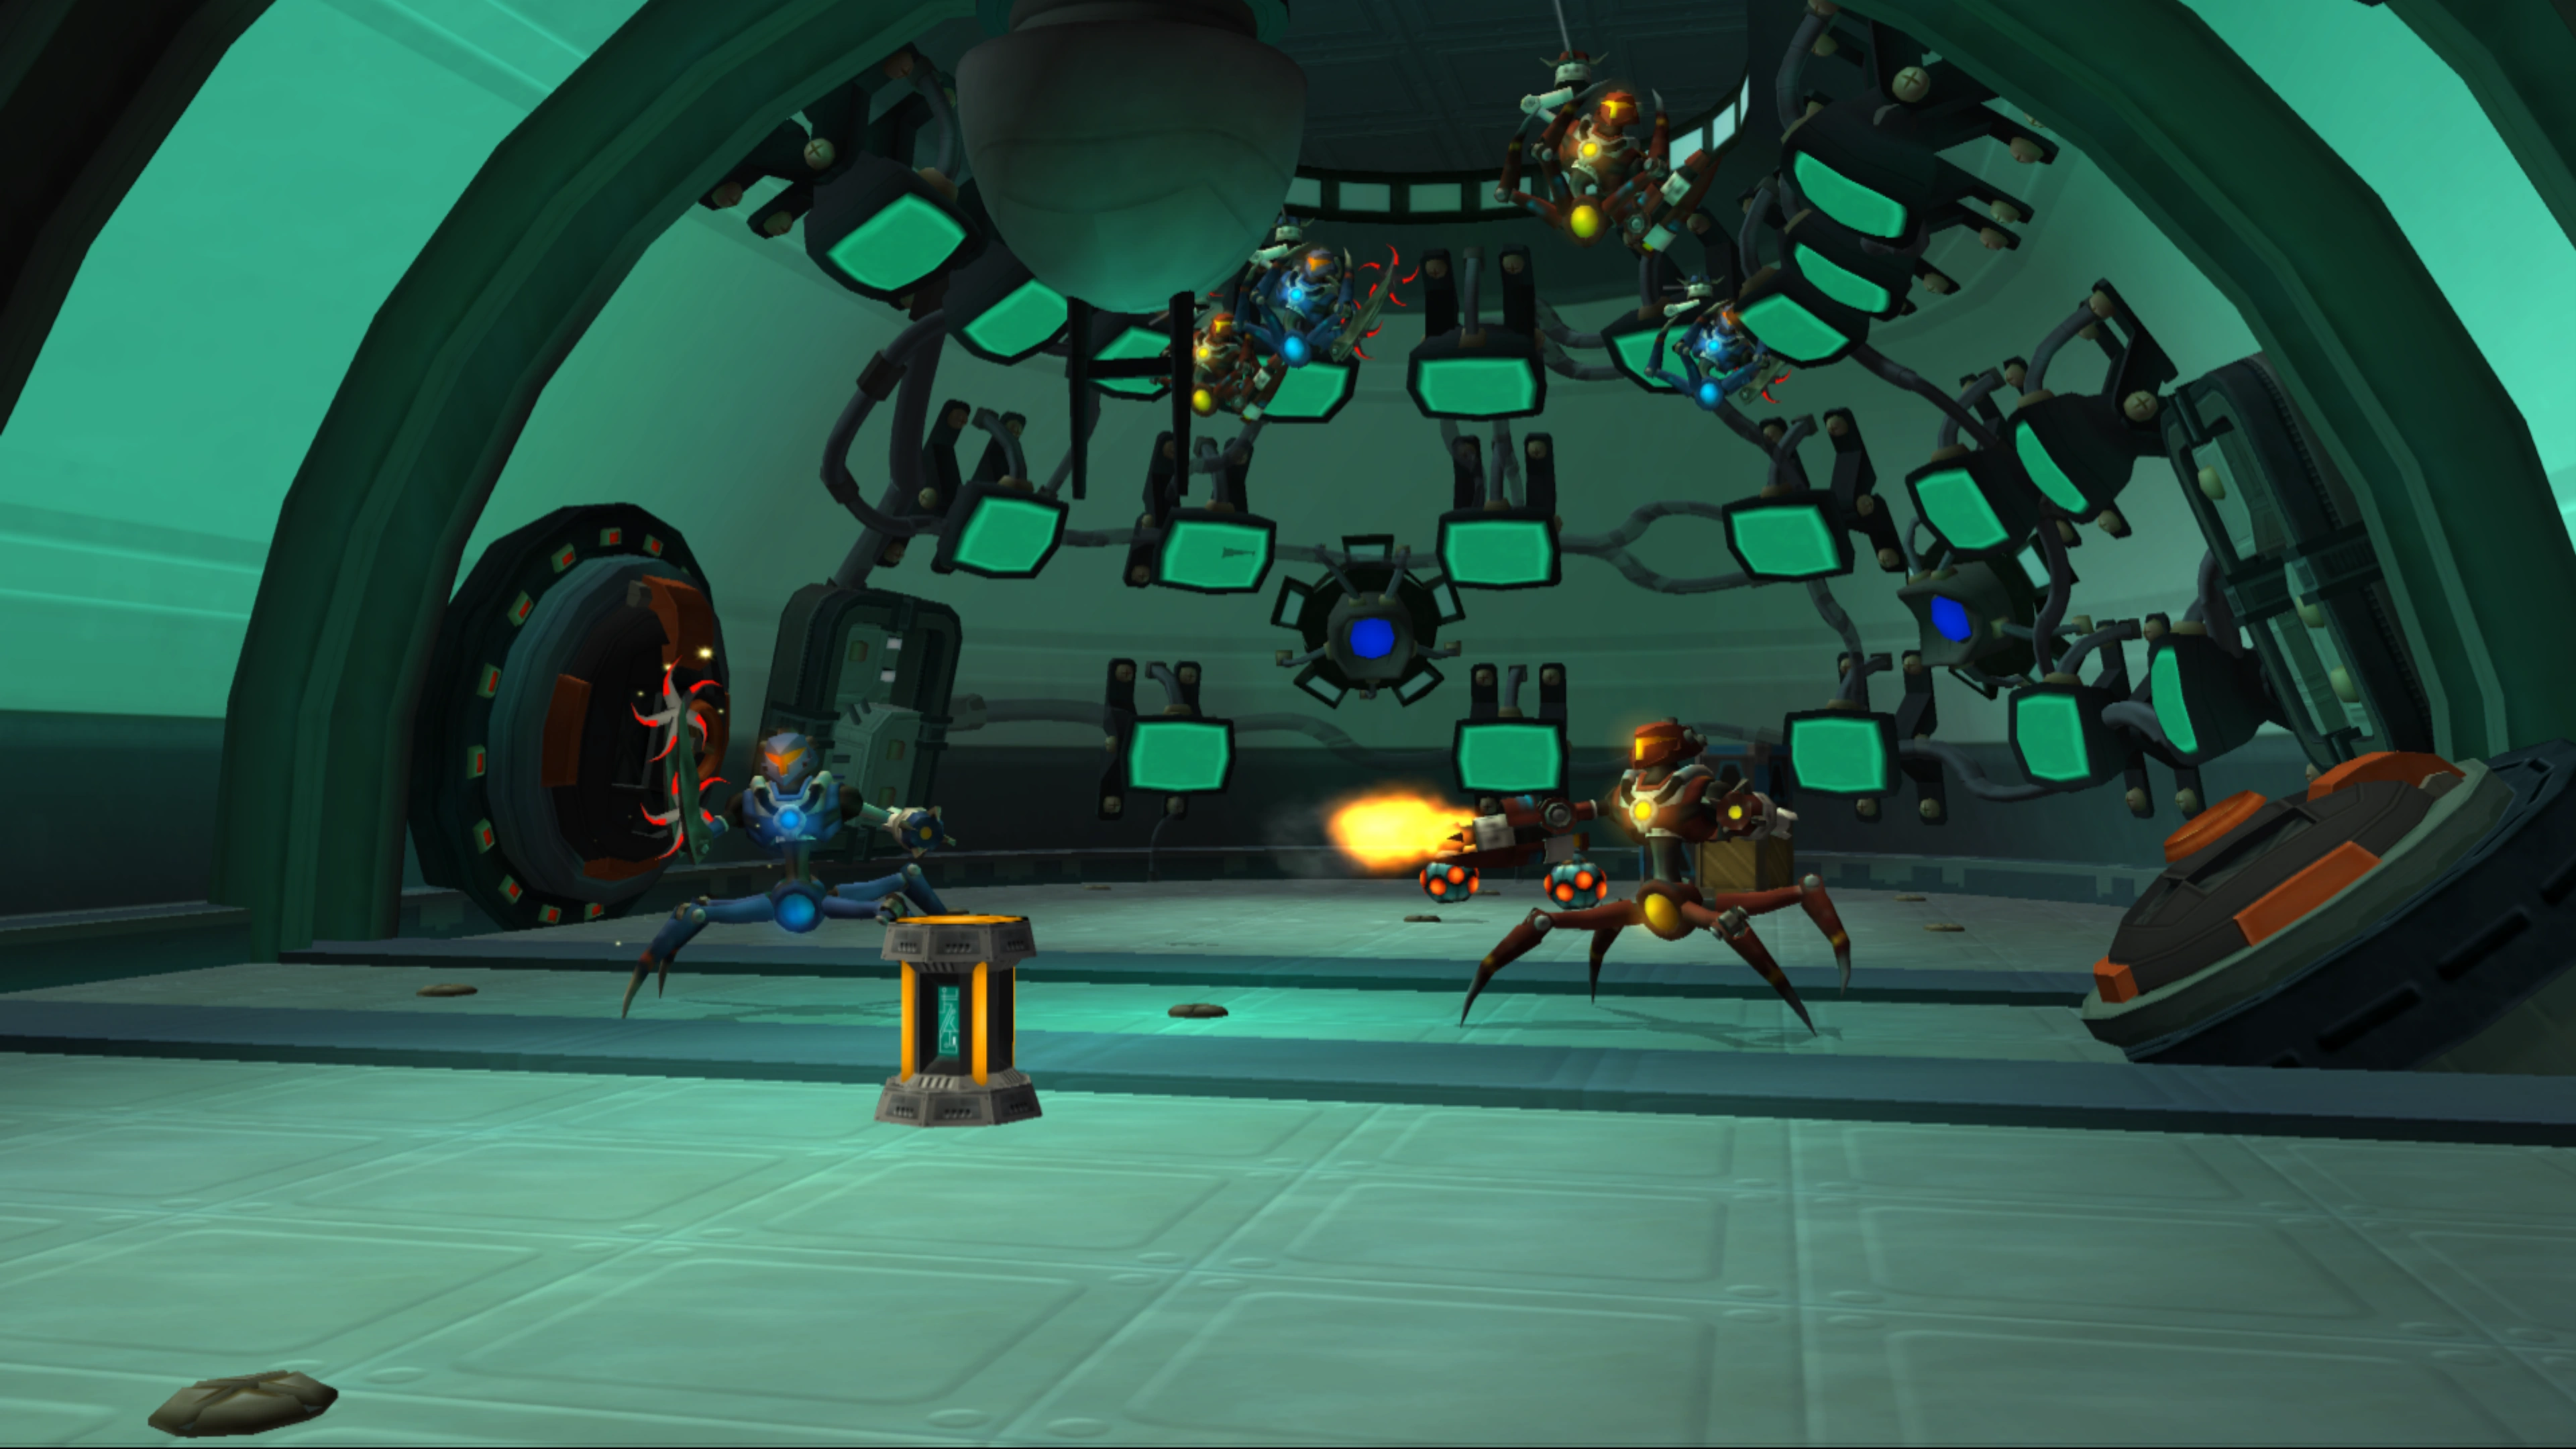
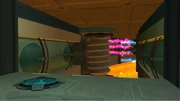
The holding room for the experiment.
The experiment room is cylindrical-shaped, with a large number of green screens connected by wires surrounding it, and two hatches leading to two other areas on the ship. It is initially divided in two by large gates at the end, with one directly behind the experiment's small cage on top of a transfluxer coil[7] pillar, and another directly behind that. The hatch on the left at the end of the room leads to the front-most left wing, and a glass hatch on the ship leads from the wing to a room back inside. From here only an elevator can be used to access a corridor, into a room lined with turbines. This path ultimately culminates in an apparent dead end, where Ratchet jumped off the flying lab to his ship.
Prison and hangar bay path[]
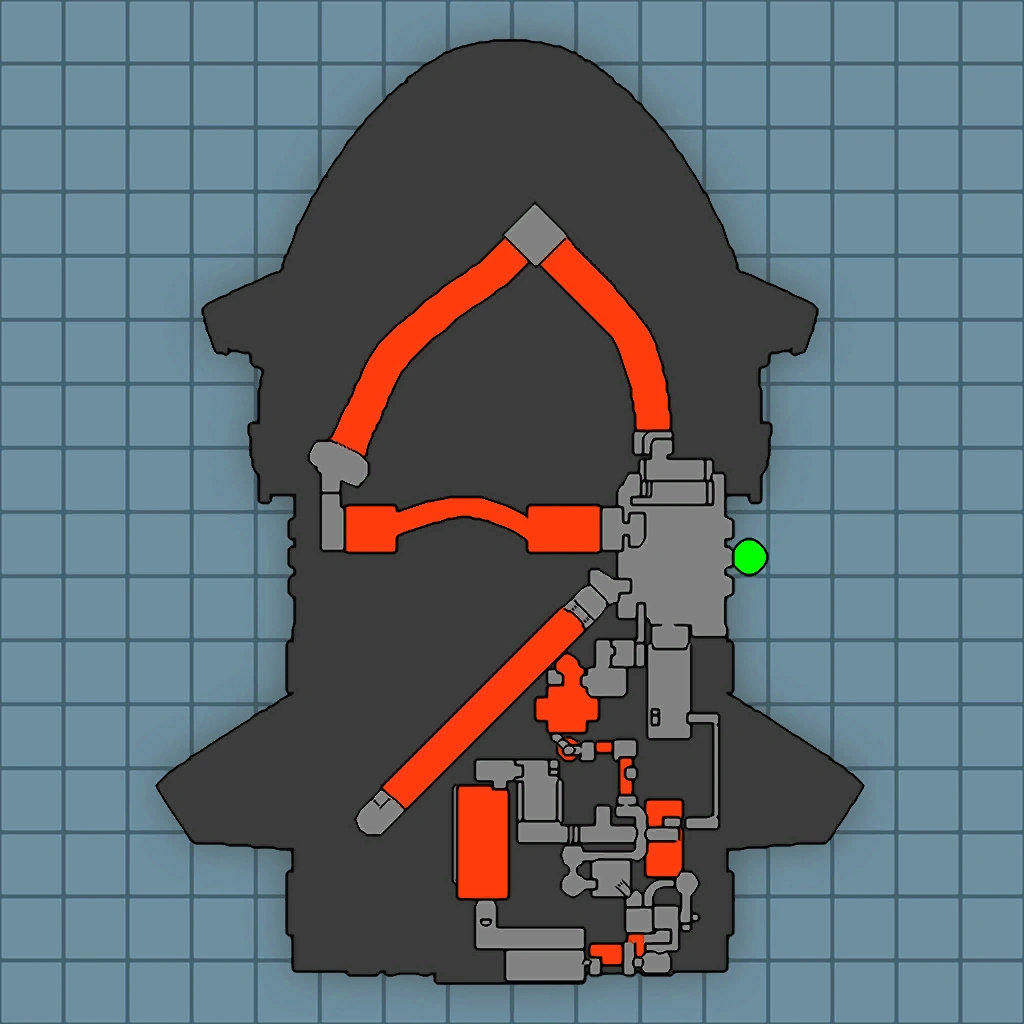
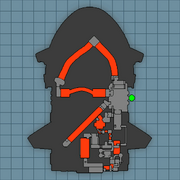
Map layout of the second visit.
The prison is located near the back of the ship. The prison room contains three cells on a row, each surrounded by red forcefields with no means of escape aside from an airvent,[4] and opposite the row of cells is a room with a large pump in the wall. Past the cells is a bending path through a series of lab rooms and corridors eventually leading to the hangar bay. The first room immediately out from the cell is a wider room filled with lava, which is normally intraversible except by the Megacorp Security Robots, outside of floating platforms and a wall that can be crossed with the Gravity Boots.
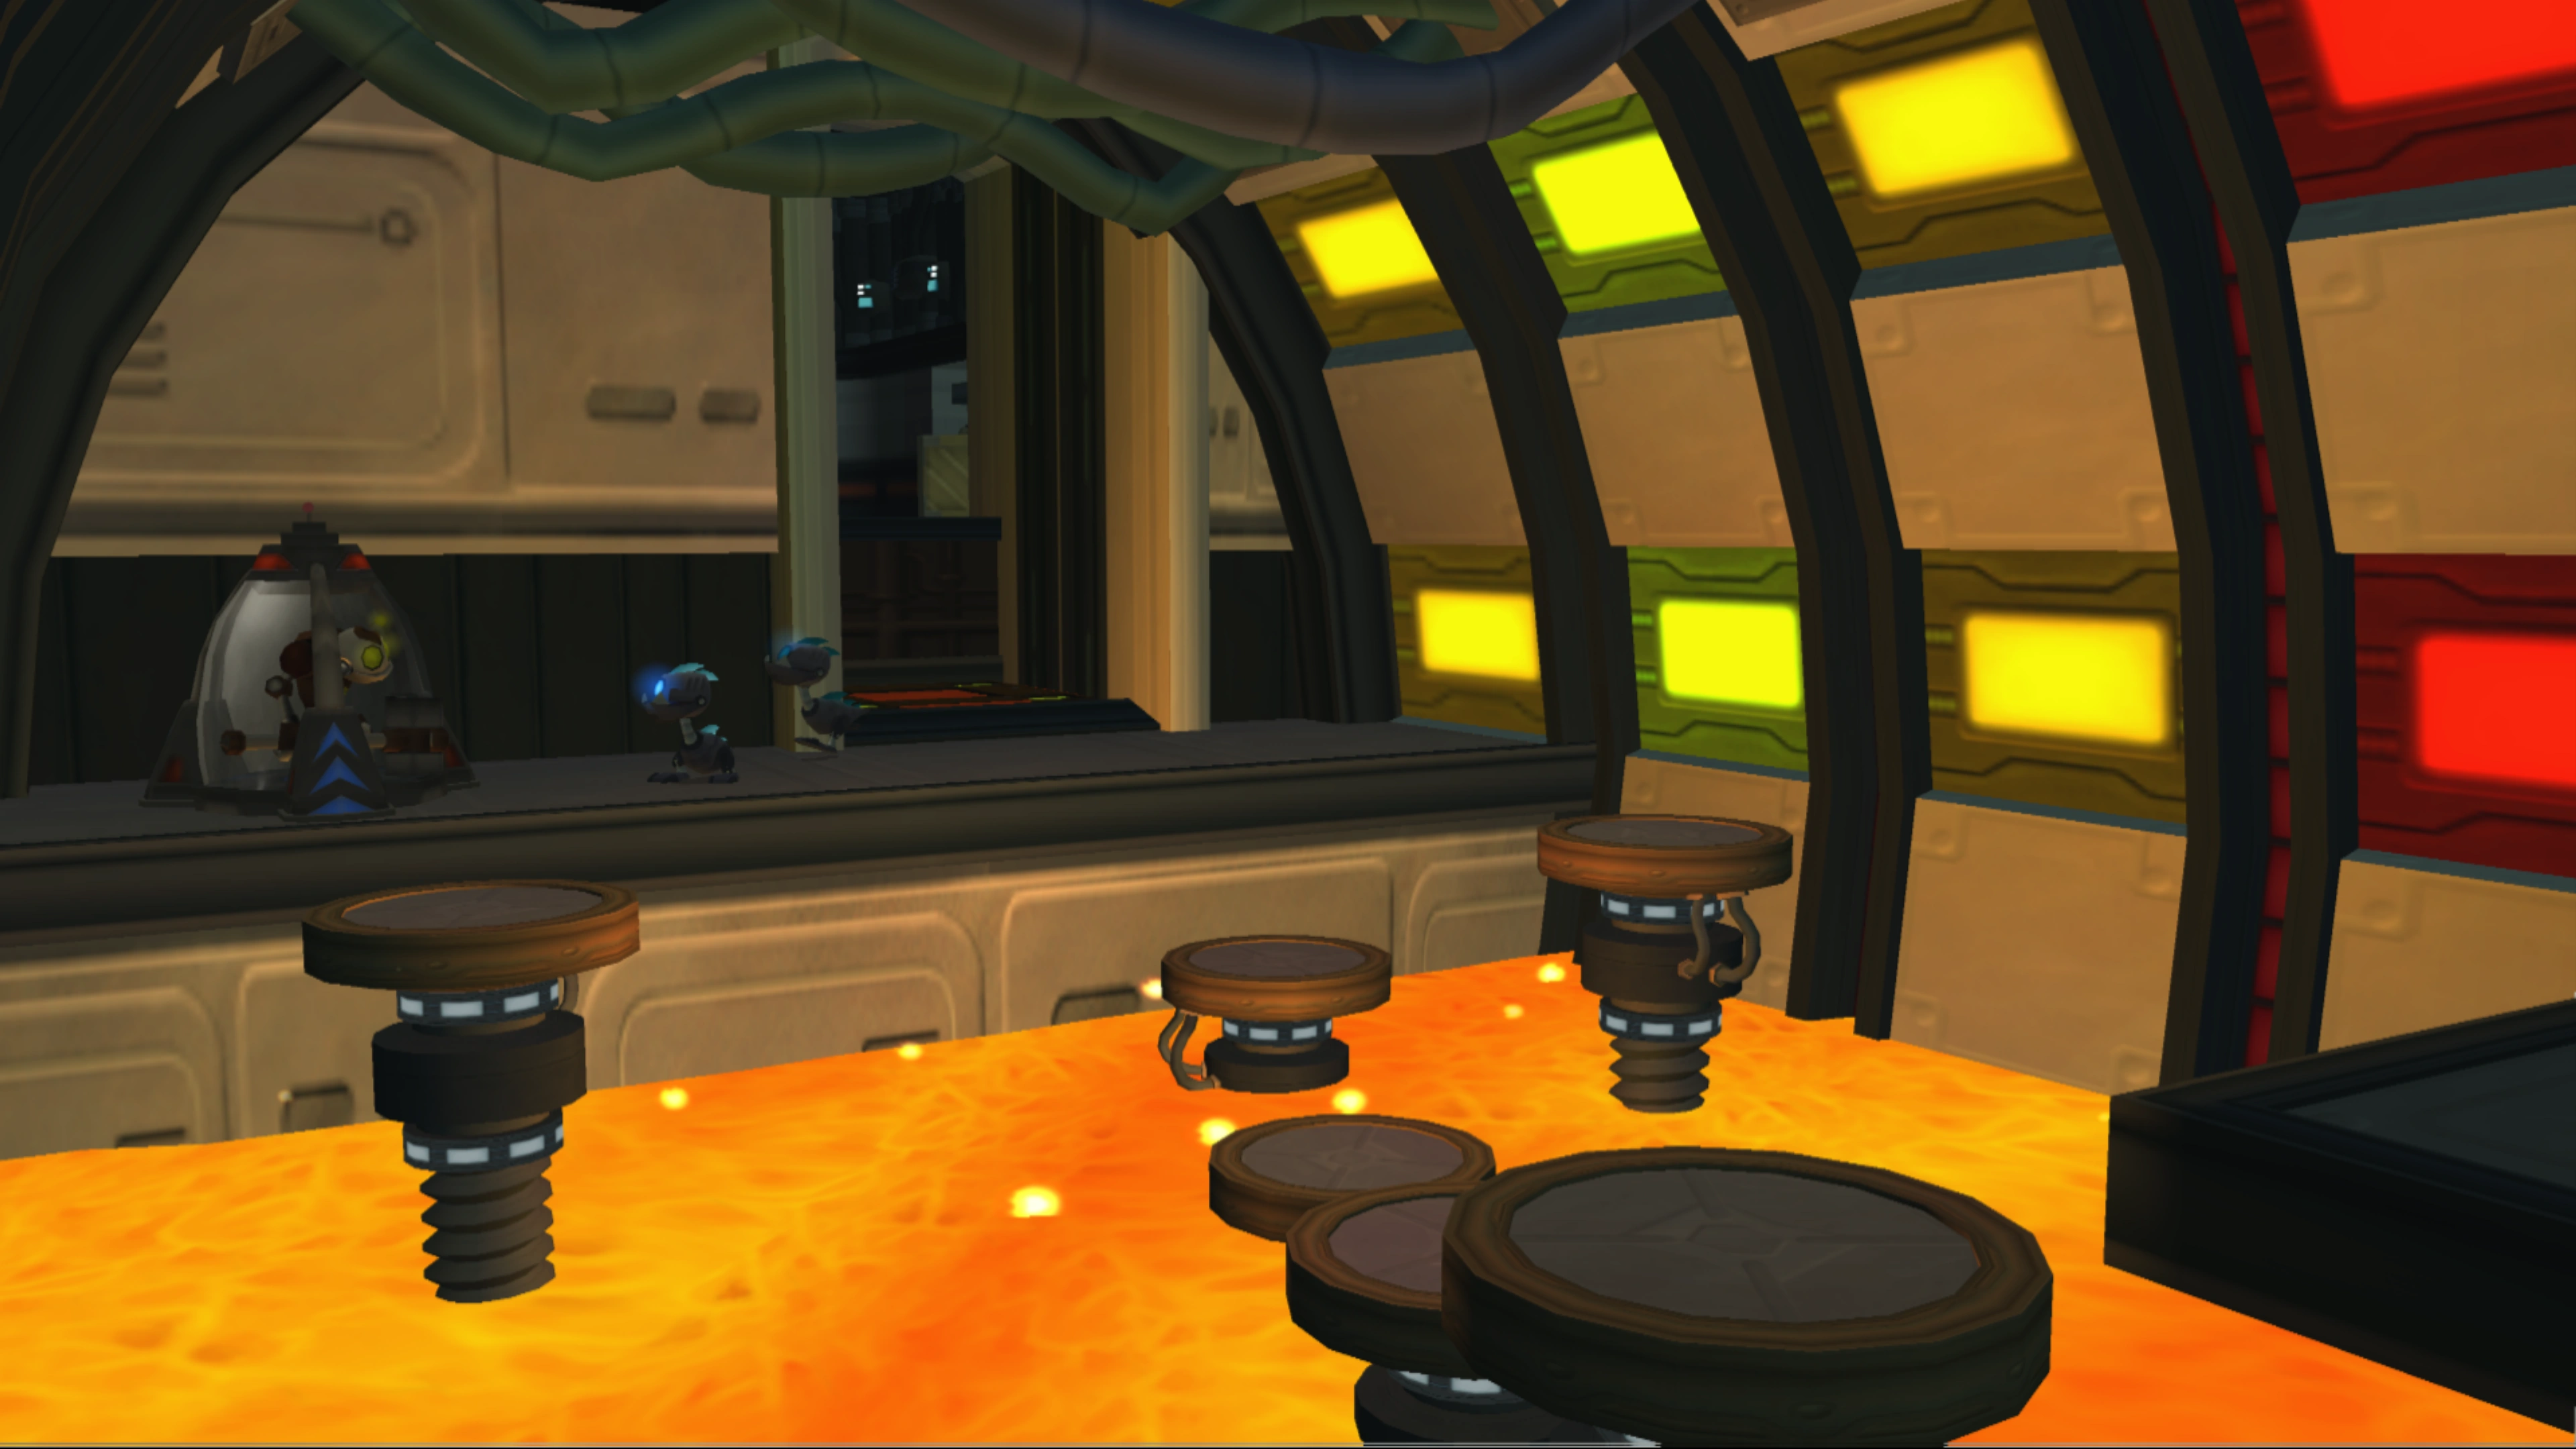

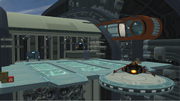
The initial room connected to the vents after escaping.
The vents from the prison cell leads to a smaller and self-contained area, and are visited by Clank during "Free Ratchet from prison cell". The larger rooms here are all mostly filled with lava, with either metal gratings or a few platforms providing a path across it. An elevator shaft will eventually lead to a small corridor with a power generator controlling power to decks 4 to 14.[4] Past this is a ventilation shaft through to another series of similar rooms, eventually leading back to the hangar.
From the prison cell, past the large lava-filled room adjacent to it, is a series of rooms visited by Ratchet during "Meet up in the hangar bay". A series of tall lab rooms with floating platforms, interspaced between a few similar lava-filled rooms and a path leading outside the ship, eventually connects the prison cells to the hangar bay through unconventional means.
Hangar bay[]

The hangar bay.
The hangar bay is visited by Ratchet and Clank in "Turn off the forcefield". It is an area on the side of the ship near the front, with a landing pad for the Star Explorer. The area is located entirely on the outside of the ship, though unlike the rest of the ships' outside, the air is breathable. Most of the floor is made of glass windows, held together by solid plates. The walls on the sides are covered in machinery, aside from the top-left wall which contains windows for one room. The hangar bay has four exits: the tunnel connected to Clank's path, the door adjacent to it on the right-hand wall connected to Ratchet's path, a door on the back leading to the path to deactivate the force field, and a higher-up door in an elevated area reached by a ladder that leads to where Ratchet and Clank found the Plumber. Above the two doors at the back are searchlights on top of a roof.
Directly below the hangar bay is a small ledge located a large portion of moving machinery, including fans and pumps, on the hull of the ship, which can be reached by gliding from the edge of the bay. The ledge contains only a platinum bolt, as well as a Levitator pad to return to the top.

Corridor on the path to the force field.
The path from the hangar bay to the forcefield room, visited in "Turn off the forcefield", is located behind a door on a ledge at the back of the bay (initially locked until opened with an Infiltrator). It comprises a series of long hazardous tunnels filled with pools of lava as well as drills, and can only be crossed with a Levitator. Interspaced between the lava pools are a few round lab rooms with screens across the walls. The tunnel paths are hazardous, but leads to the control room for the hangar, a room filled with computer terminals and containing a hatch back to the bay itself.
The path from the hangar bay to the Plumber, visited in "Explore the rest of the flying ship", is located behind a lower door to the left of that used to reach the forcefield control room. It is a long room with a pool of lava across it (and can only be crossed by the Levitator) and leads to a number of sewage pipes, one of which was clogged by the Captain Qwark action figure.[8]
Behind the scenes[]
The first Aranos visit was programmed by then-junior programmer Tony Garcia and designed by Mark Cerny. As a tutorial level, it was referred to internally as "Level 0", as it was added after everything else. In order to add ambiance to the level and make the world feel more vibrant, jet planes and moving skies were added to the background.[9] Tony Garcia also added a ring effect in the tunnel, and using a moving background, created an illusion that the ship itself was moving, despite the level being non-moving.[10] Subtle effects were also added, such as rotating fans on the side of the ship, as something that the player may not notice when present but could notice if it was absent. Ratchet was also made to wear the Megacorp Helmet when outside the ship to make it feel more realistic.[11] This decision was made later on, as Ratchet did not wear the helmet in this area in early alpha builds of the game.[12]
For enemy setups, the developers did not want the enemies to simply warp in, leading to the Megacorp Security Robots hanging from the walls to attack as one of many ways the developers chose to be more creative when enemies were appearing.[13] As the playtesters were often not switching weapons, a HelpDesk message was added to encourage the player to switch to the Gravity Bomb.[14] Additionally, many players were unaware that they had to slide down the tube to continue with the level after defeating the enemies following the cutscene, and so they had to draw attention to it with the camera; this was one of many reasons that 90 degree turns were left out of level design in the series afterwards.[15]
Citations[]
- ↑ 1.0 1.1 Going Commando script § "Infiltrate the flying base (gameplay) 1"
- ↑ Going Commando script § "Find Mr. Fizzwidget (gameplay)"
- ↑ Going Commando script § "Thugs-4-Less Prison Video Brochure"
- ↑ 4.0 4.1 4.2 Going Commando script § "Free Ratchet from prison cell (gameplay)"
- ↑ Ears of War, p. 6
- ↑ Going Commando menu § "Infiltrate the flying base"
- ↑ Going Commando script § "Infiltrate the flying base (gameplay) 1"
- ↑ Going Commando script § "Explore the rest of the flying base (gameplay)"
- ↑ Stout, Garcia 2012 4:26
- ↑ Stout, Garcia 2012 6:38
- ↑ Stout, Garcia 2012 8:56
- ↑ Going Commando, alpha version
- ↑ Stout, Garcia 2012 13:00
- ↑ Stout, Garcia 2012 12:04
- ↑ Stout, Garcia 2012 13:29
References[]
- Insomniac Games (2003). Ratchet & Clank: Going Commando [Game]. Sony Computer Entertainment. PlayStation 2.
- Stout, Mike; Garcia, Tony [@uselesspodcasts] (2012, August 28). Ratchet & Clank 2 Dev Commentary: 1 - Intro [Video]. YouTube.